Screenshot
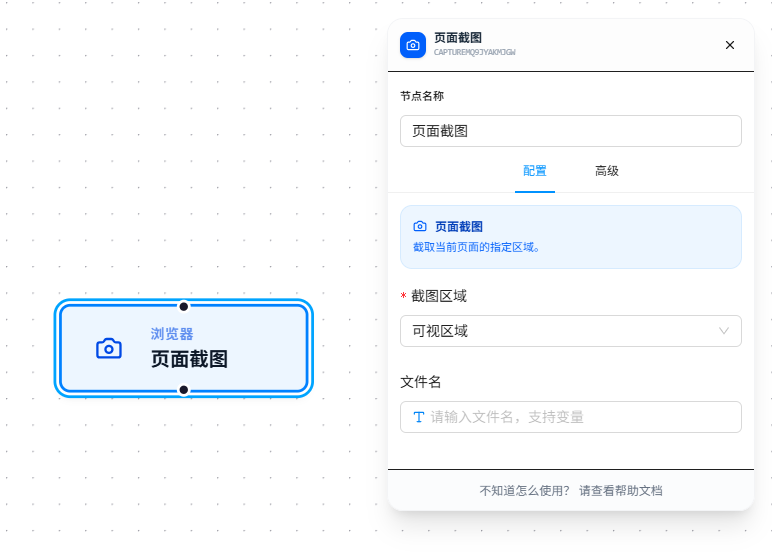
The Screenshot node captures a specified area of the current page and saves it as an image.
Usage Examples
Scenario 1: Daily scheduled inspection screenshot of the homepage
Scheduled Trigger (daily at 9:00) → Open Page (homepage) → Screenshot (full page) → Save
Set "Capture Area" to "Full Page" — automatically scrolls and stitches into a complete long image. Ideal for pages that require scrolling to view in full.
Scenario 2: Only capture the order table area
Data Collection → Screenshot (element area, target element: table.order-table)
Set "Capture Area" to "Element Area," use a CSS selector to specify the target element, and only capture that region.
Scenario 3: Capture the current visible screen content
Open Page → Screenshot (visible viewport)
Set "Capture Area" to "Visible Viewport" to only capture the current browser viewport — fastest mode.
Parameter Reference
| Parameter | Type | Default | Description |
|---|---|---|---|
| Capture Area | Dropdown | — | Visible Viewport — current viewport; Full Page — scroll and stitch long image (max 25000px / 30 screens); Element Area — specified element |
| Target Element | CSS Selector | — | Required when Capture Area is "Element Area" |
| Filename | Text | — | Filename to save as. Supports {{variableName}} references |
FAQ
Full page screenshot is incomplete
Symptom: Selected "Full Page" but the screenshot only shows part of the content.
Cause: Page content exceeds 25000px in height or 30 screens, hitting the safety limit.
Solution: Switch to "Element Area" and capture different content sections in segments.
Element area screenshot is blank
Symptom: Selected "Element Area" but the screenshot is blank or black.
Cause: The target element is covered by other elements, or the element uses canvas/WebGL rendering.
Solution: Verify in DevTools that the element is visible on the page and not obscured.